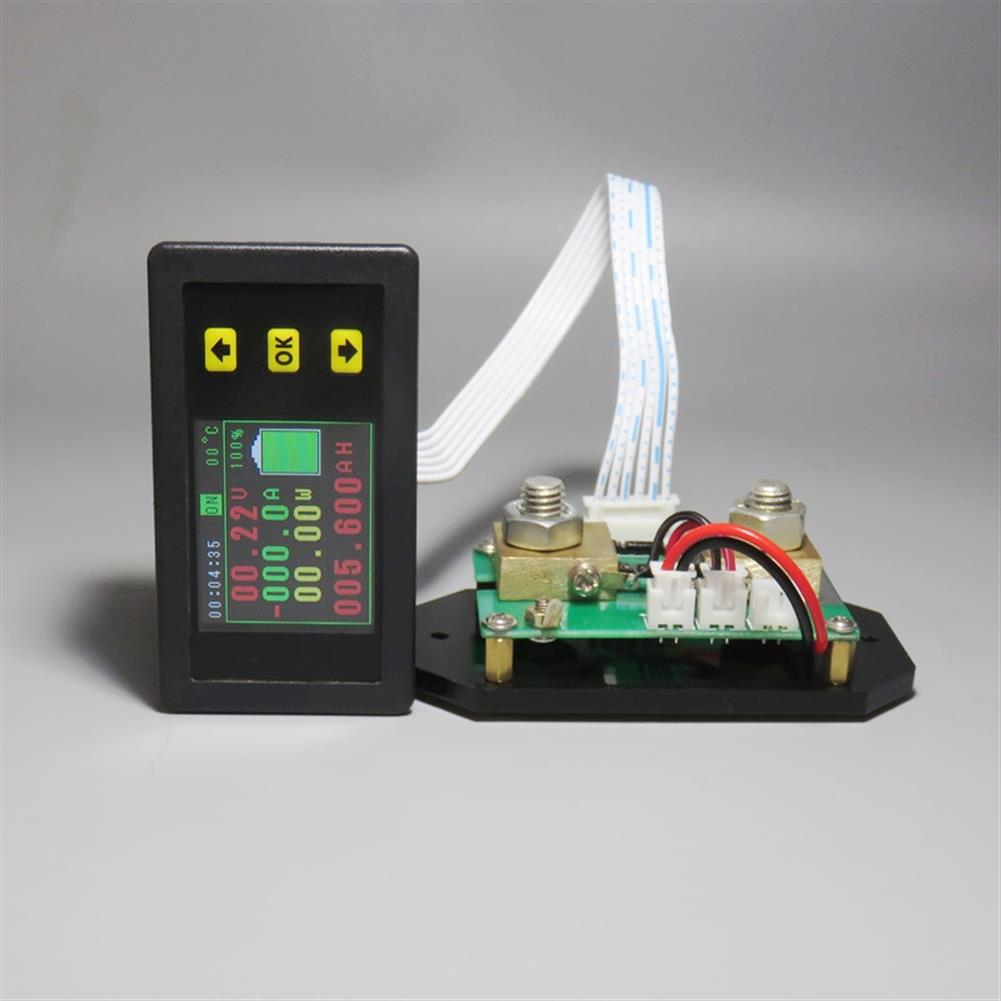
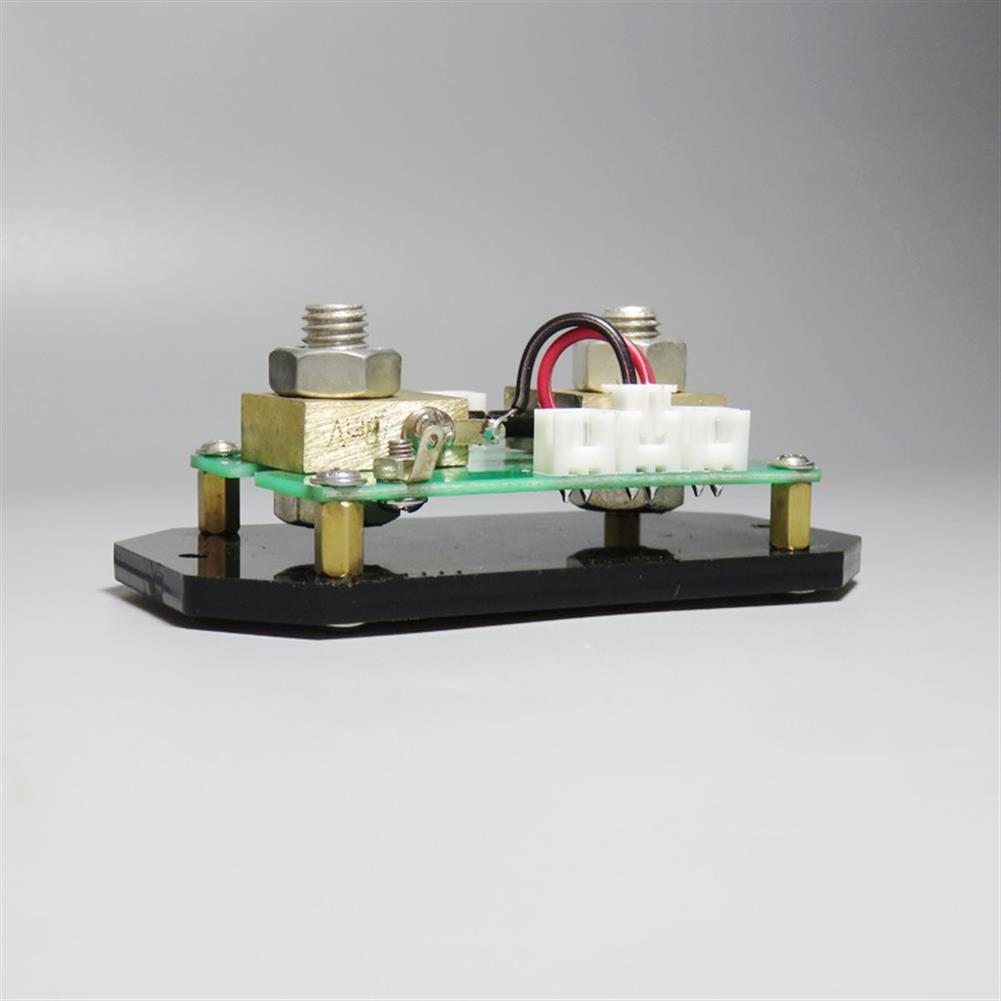
DC 120v 100A 200A 500A LCD Combo Meter Voltage Current KWh Watt Meter 12v 24v 48v 96V Battery Capacity Power monitoring 1.8inch Color Screen
$58
Current 500A (3.00)/Current 100A/Current 200A (1.00)/Current 300A (2.00)/
Shipping:Standard Shipping about 10-25 business days
Secure Payment:Paypal,VISA,MasterCard
Descriptions
It is a basic multi-function instrument that can display various physical parameters such as voltage, current, power, capacity, energy, and operating time in real time. Overvoltage, undervoltage, overcurrent can be achieved through reserved relay interfaces. . And the meter uses 1.8-inch color LCD as a display, display data more comprehensive, clear and easy to observe. This meter is ideal for applications that require monitoring of the output voltage and current as well as applications such as charging and discharging batteries.
Features
1. The bidirectional detection current makes it easy for the user who detects the charge and discharge to detect the bidirectional current without changing the wiring direction.
2. Power off memory function, able to memorize the number of AH and WH before power off after power off, which is convenient for observation and measurement.
3, time and AH number clear function, does not affect the next measurement.
4. The number of AHs can be filled up without affecting the direct discharge measurement.
5, voltage, current, charge capacity AH number, WH number, time, power at the same time display, display information is comprehensive and clear.
6, with output off function keys, flexible open or shut off the output.
7, with over-voltage, over-current protection.
8, when necessary, you can turn off the LCD display, reduce product power
Notice:Default without Temperature measurement function
Specifications
Package Includes
1 x Voltmeter
Instructions
1. AH, WH display switch, click to switch to display WH number, click to switch to display AH number.
2. Press OK key to enter the system parameter setting interface, then press OK key to switch the type of setting parameter. The set parameters include BAT, BPC, OPP, OVP, LVP, NCP, OCP, OTP, ADS, TTL, CLR, DTE. , Click to change the parameters, after the parameters are set, press OK to exit the parameter setting interface.
Third, function introduction
1, inchBATinch battery capacity value setting, this parameter is to set the battery measured total capacity.
2, inchBPCinch battery remaining capacity percentage, can be set according to the value of the remaining battery AH
4, inchOVPinch set over-voltage protection value, if the OVP value is set, when the actual measured voltage value is greater than the set value, it will prompt over-voltage, and cut off the relay (self-provisioned).
5, inchLVPinch set over-voltage protection value, if you set the LVP value, when the actual measured voltage value is less than the set value, it will prompt undervoltage, and cut off the relay (self-provisioned).
6, inchNCPinch set over-voltage protection value, if the NCP value is set, when the actual measurement of the charging current value is less than the set value, it will prompt over-current, and cut off the relay (self-provisioned).
7, inchOCPinch set over-voltage protection value, if the OCP value is set, when the actual measurement of discharge current value is less than the set value, it will prompt over-current, and cut off the relay (self-provisioned).
8, inchOTPinch set over-temperature protection value, if the OTP value is set, when the actual measured temperature value is greater than the set value, it will prompt the temperature, and cut off the relay (self-provisioned ,Default without Temperature measurement function).
9, inchADSinch communication address code settings. In multi-machine communication, multi-machine communication is achieved by setting the address code.
10, inchTTLinch instrument default relay output power state, normally open or normally closed.
11, inchCLRinch no-load current clear function, if the actual no-load current is zero
Connection mode
(1) its own power supply wiring diagram
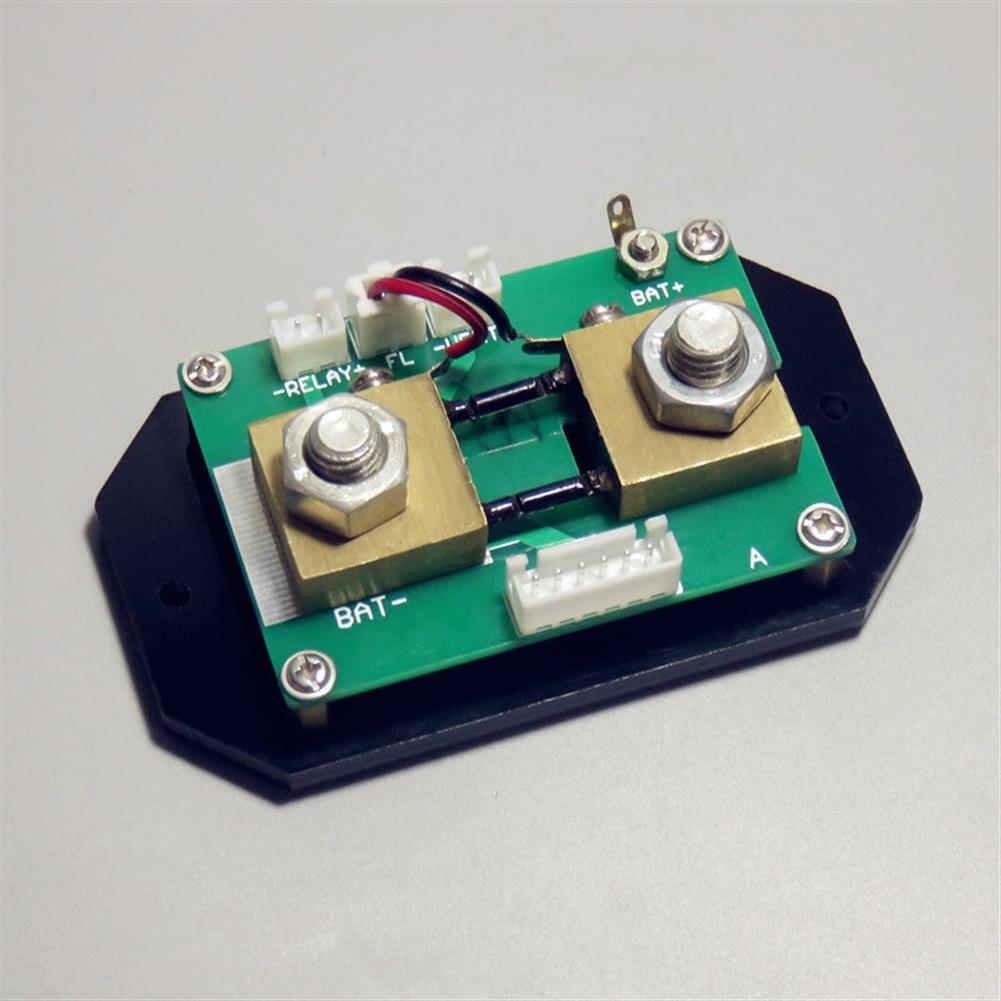
Note:If the voltage range of the tested battery (power supply) is between (6-75V) during the normal operation, it can use its own power supply wiring mode. First, adjust the jumper cap of the power supply selection interface to “2W Inch, and then connect it. The positive pole of the battery (power supply) is connected to the voltage measurement port “Bat+ Inch, and the negative pole of the battery (power supply) is connected to the shunt “BAT- Inch. The positive and negative poles of the power supply should not be connected wrongly or reversed. Connect the positive pole of the battery (power supply) to the positive pole of the load, and connect the negative pole of the battery (power supply) to the negative pole of the load through the other end of the shunt; the positive pole of the charger is connected to the positive pole of the battery, and the negative pole of the charger passes through the shunt. One end is connected to the battery (power supply).
(2) External power supply wiring diagram
Note:If the voltage range of the tested battery (power supply) during normal operation is not between (6-75V), the external power supply connection mode can be used. The external power supply voltage range is (6-75)V. The power supply selection interface jumper cap is firstly used. Adjust to inch3Winch, then connect the positive terminal of the battery (power supply) to the voltage measurement port inchBat+inch at the time of connection, connect the negative pole of the battery (power supply) to the shunt inchBAT-inch, and the positive and negative poles of the power supply should not be connected. Wrong or reversed. Connect the positive pole of the battery (power supply) to the positive pole of the load, and connect the negative pole of the battery (power supply) to the negative pole of the load through the other end of the shunt; the positive pole of the charger is connected to the positive pole of the battery, and the negative pole of the charger passes through the shunt. One end is connected to the negative pole of the battery (power supply) phase.
(3) Electrical relay wiring instructions
Note:The relay’s working power is provided by an external power supply. If the relay is connected, an external power supply with the same working voltage as the relay must be provided, and the power supply status of the instrument is adjusted to the “3W Inch state. Connect the control port of the relay to the interface of the controller, and then connect the negative pole of the power supply to the “BAT- Inch position of the shunt through the normally open or normally closed port of the relay, and the wiring of other parts will not change.
| Weight | 0.2 kg |
|---|
Only logged in customers who have purchased this product may leave a review.
Customers Also Viewed
-
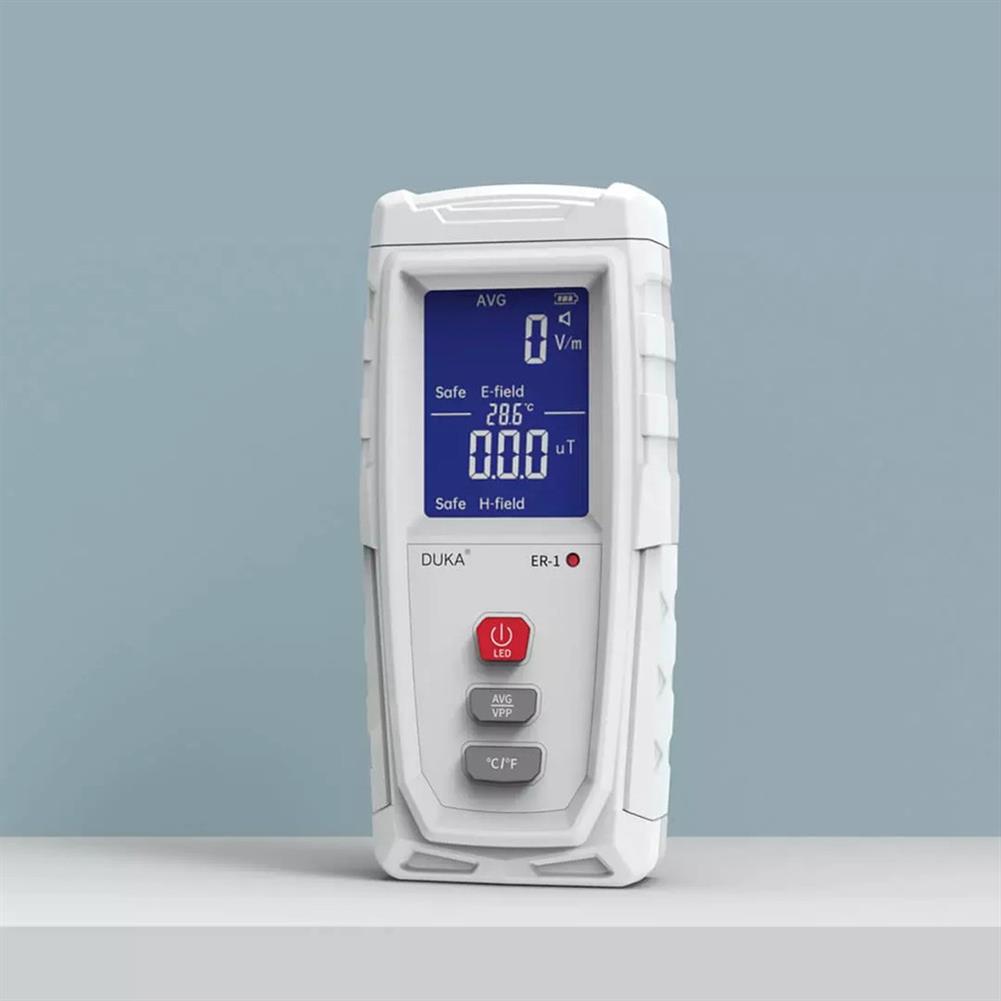
DUKA ER-1 Digital Electromagnetic Radiation Detector LCD Electric Magnetic Field EMF Meter 5Hz-3500MHz Frequency Tester indicator Data Lock
$86Spectrum AnalyzersAdd to cartFeaturesLCD color high-definition large screen displayAlarm sound, flashing light, display radiation value triple alarmOne key to clear old data, easier to operateLithium battery cyclic charging, universal USB interface fast chargingSimple silicone button, non-slip design on the sideSpecificationsBrand Name:DUKAProduct name:Electromagnetic radiation detectorTest mode:dual-mode simultaneous testPower supply:3.7V lithium batteryTest bandwidth:5HZ~ 3500MHZOperating temperature:0°C~50°COperating humidity:relative humidity below 80%Sampling time:about …
-
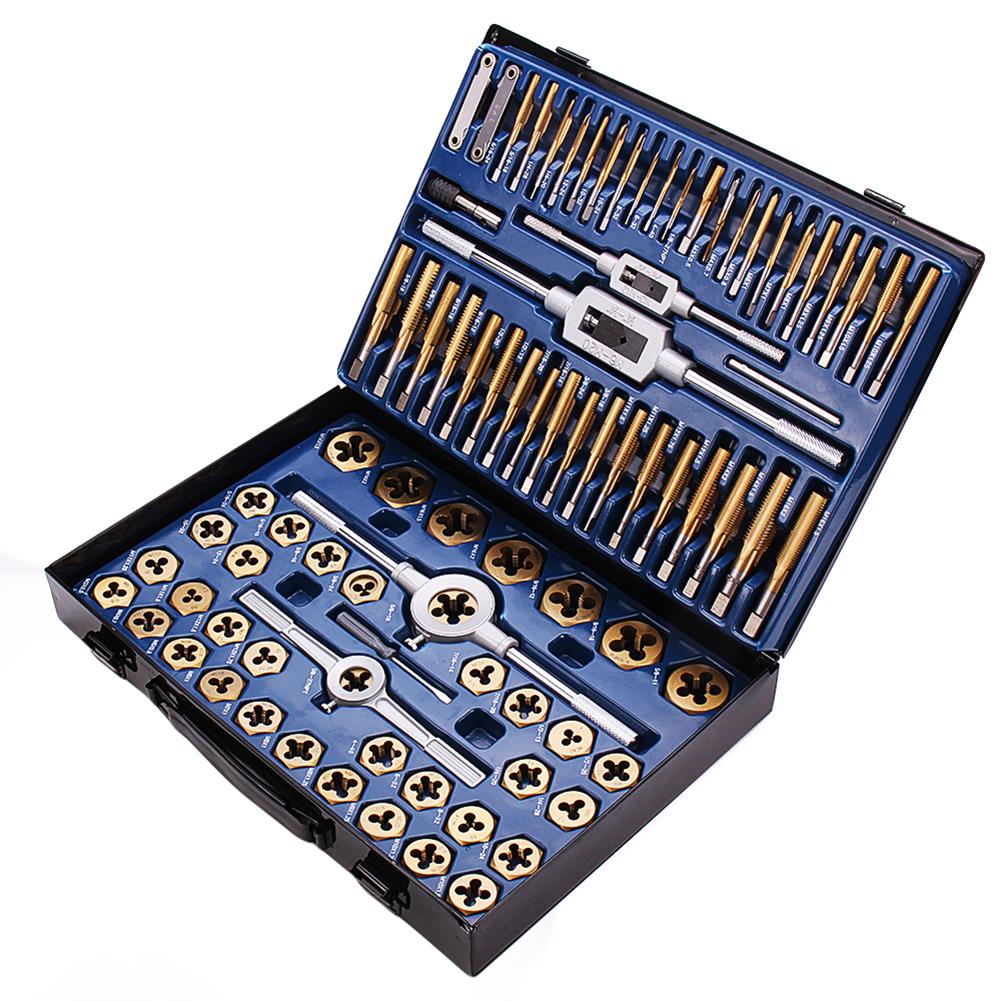
Drillpro 86Pcs Hard Alloy Plating Titanium SAE Tap And Die Set Combination Metric Tools Kit
$275Hole Saw CutterAdd to cartDescriptionsDrillpro 86Pcs Hard Alloy Plating Titanium SAE Tap And Die Set Combination Metric Tools KitSpecificationsProduct Name:Tap and die setBrand:DrillproMaterial:Hard AlloyTap And Die Material:Plating TitaniumPackage Size:Length:50.8cm (20inch)Width:27.94cm (11inch)Height:7.62cm (3inch)Weight:About 5.487KGSize:- SAE TAP and DIE:1/8inch-27NPT , 4-40 , 6-32, 8-32 , 10-32inch , 10-24inch, 12-24inch , 1/4-20inch , 1/4inch-28inch , 5/16inch-18inch, 5/16inch-24inch,3/8inch-16inch , 3/8inch-24inch , 7/16inch-14inch , …
Drillpro 86Pcs Hard Alloy Plating Titanium SAE Tap And Die Set Combination Metric Tools KitRead More
-
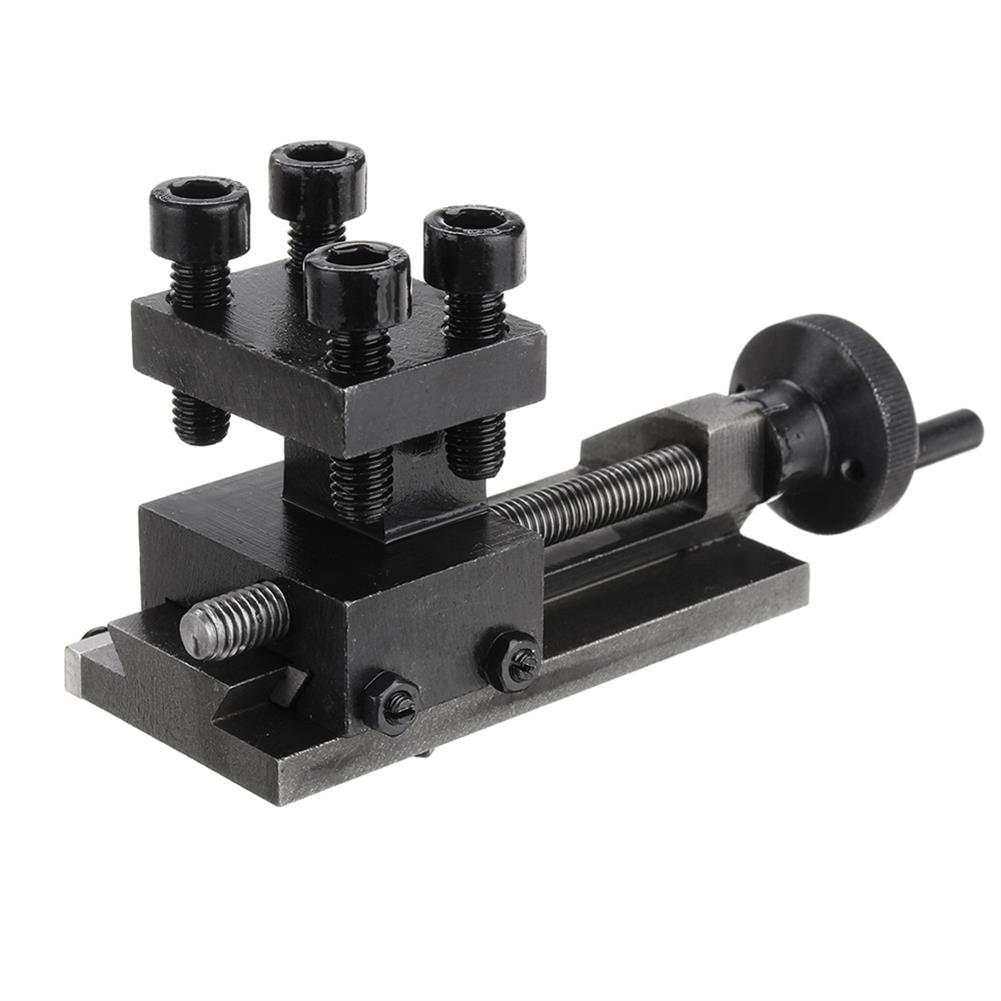
30 Degree Rotatable Mini Lathe Tools Holder for SIEG C0 Mini Lathe
$99Tool HolderAdd to cartDescription30 Degree Rotatable Mini Lathe Tool Holder for SIEG C0 Mini LatheSpecificationMaterial:Tungsten steelSize:Approx.100mm*49mm*58mmColor:BlackFeaturesMade of Tungsten steel.Can change the angle for 30 degrees.Mini and portable hold.Perfect holder for SIEG C0 Mini Lathe.Durable and long life.Package Included1 x Lathe tool holder




Reviews
There are no reviews yet.